Account Creation #
Once we add your account you will receive a welcome e-mail from iDrive:
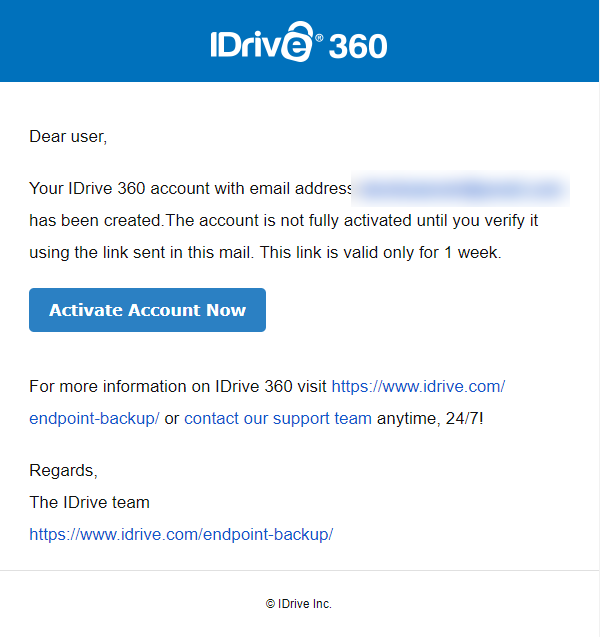
Click the link, create a password, and you will have access to your new control panel:
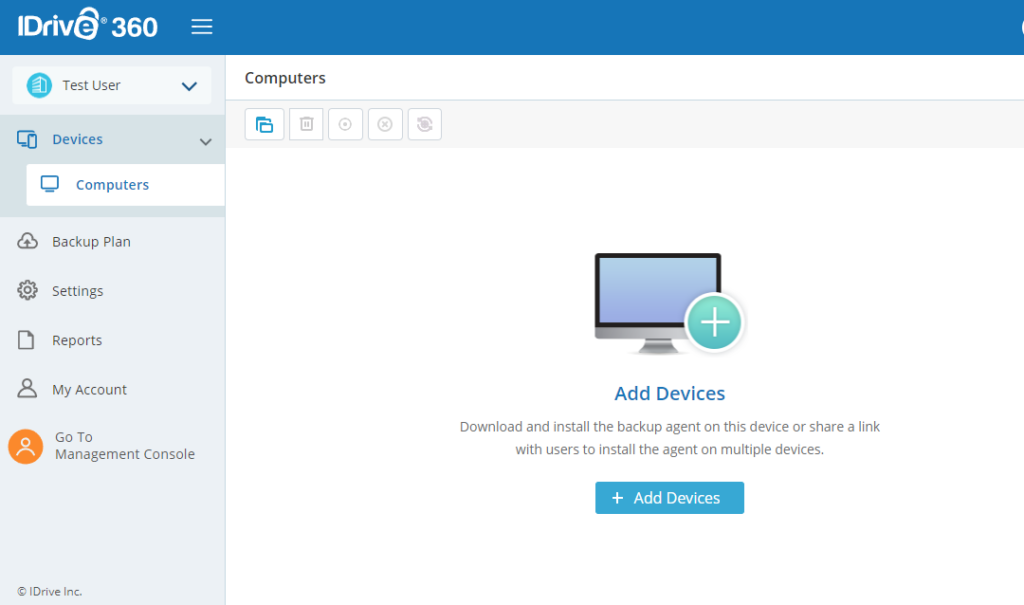
Adding Devices #
Click the Add Devices button, and choose the download button that’s appropriate for your device. For Windows computers:
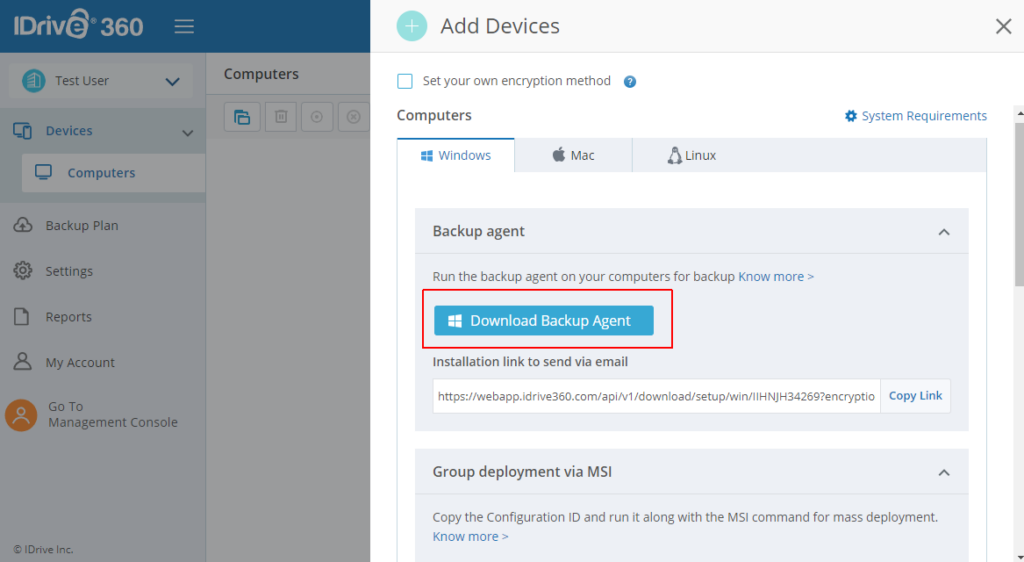
If you are using Mac or Linux, choose the appropriate tab for your devices and download that agent instead.
Now, run the downloaded file on each computer you need to back up, agree to the license, and the computer will appear in your control panel. There is no more notification on the computer being backup up other than the iDrive logo in the icon tray.
On your control panel, choose All Computers and you will see the device(s) you just added:
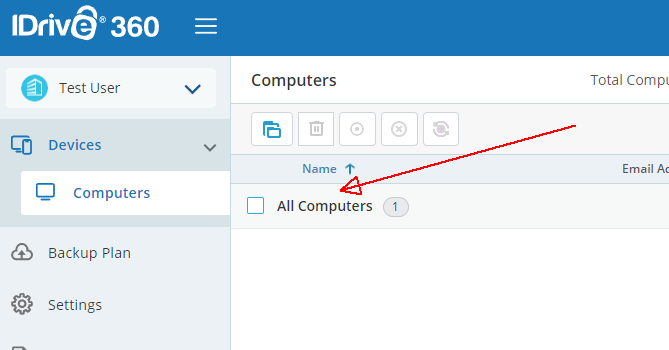
You will see that the computer you just added is not protected, and if you scroll to the right you will see that it is scheduled to be backed up later – probably at 8pm:
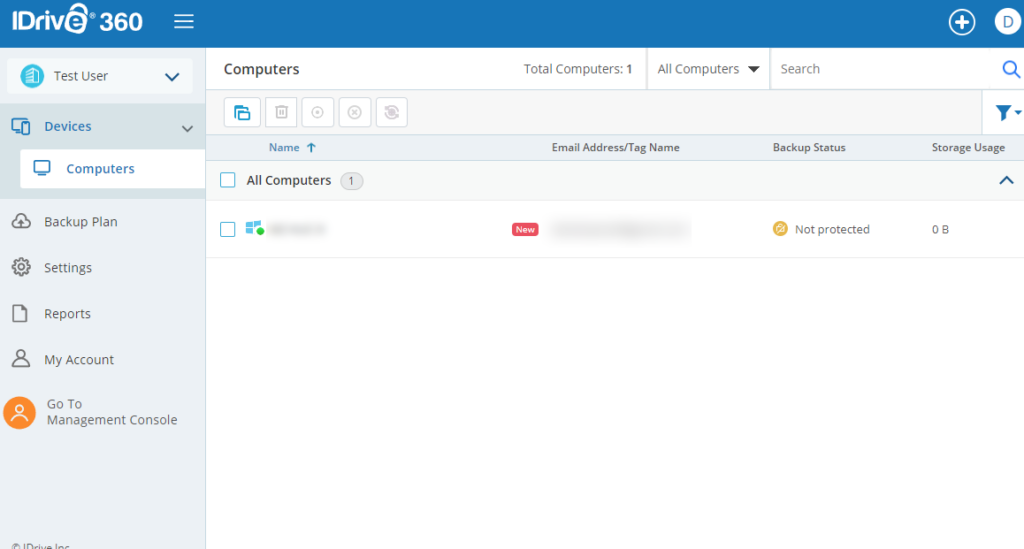
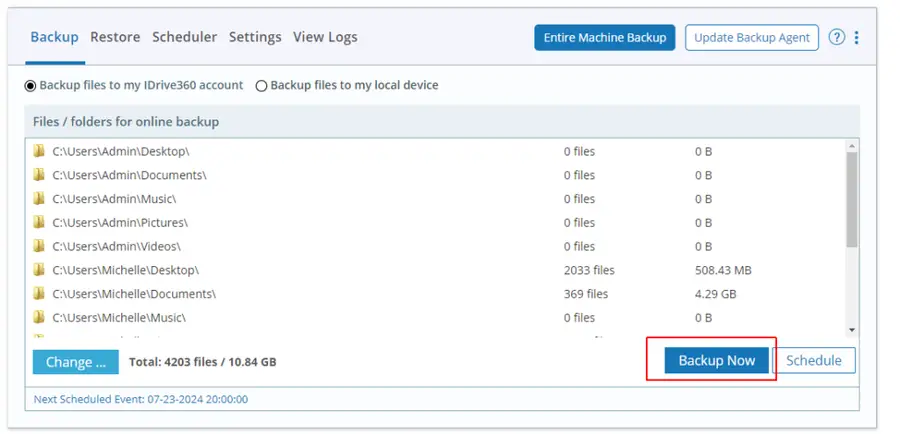
You can leave it here – backups will start soon. If you wish to start the backup now, simply click on the device in question and choose the Backup Now button:
Backup Plans – Choosing What Gets Backed Up #
There are two options for backups: “All files,” and “Entire Machine.”
- All Files is the default, and it tries to grab all the files that users may have created on your machine. By default files get saved in a standard set of places
There are two buttons I have highlighted on this page:
- The button highlighted in red will back up the folders shown in the display – this is what iDrive refers to as an “All Files” backup. This is appropriate for most users as it will save all the data in every user profile. If you’ve ever clicked File, Save and chosen a location like your documents, desktop, pictures or video folder, etc then it’s covered here. If you do things like install software in custom folders on the c: drive, then you need the next bullet point:
- The button highlighted in green will take you to the Entire Machine Backup page, where every single file will be backed up. Directions from iDrive are available here, but the console is self explanatory:
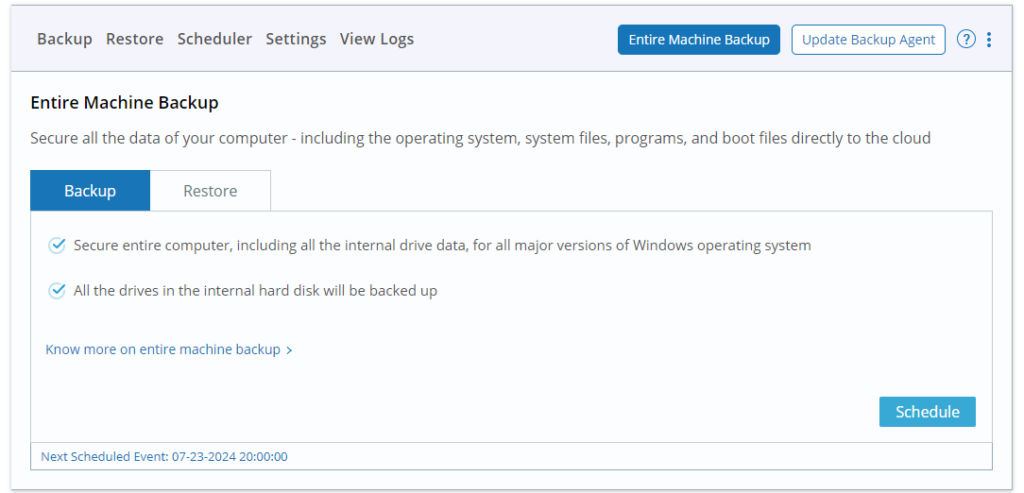
Click Schedule, choose your schedule, and you are good to go.
This is getting complicated #
Our goal is to minimize the confusion. If you have special needs, or you’re just not confident that you are configuring your backup correctly, please e-mail us and we will schedule a call where we can set your backup schedule to whatever you want it to be, and insure that everything important is covered.
Most users will be well served by the default, which backs up the most commonly saved files from the most common locations.


